This past week some friends of mine, lets just call them Mr. and Mrs., gave me some apples.
They grew these apples.
In Houston.
Where we have almost no cold and we call our soil ‘gumbo’ because it’s, well, basically clay.
(For your information, apples, among a lot of other fruit, MUST have a certain amount of rest in the winter, better known as chill hours. Agricultural advances have provided us with new cultivars of apples that can still do their fruity thing, way down here in Houston, where we have mild winters. They are bred to need less rest I guess.)
Back to Mr. and Mrs. They also grew them without pesticides.
They were perfect apples.
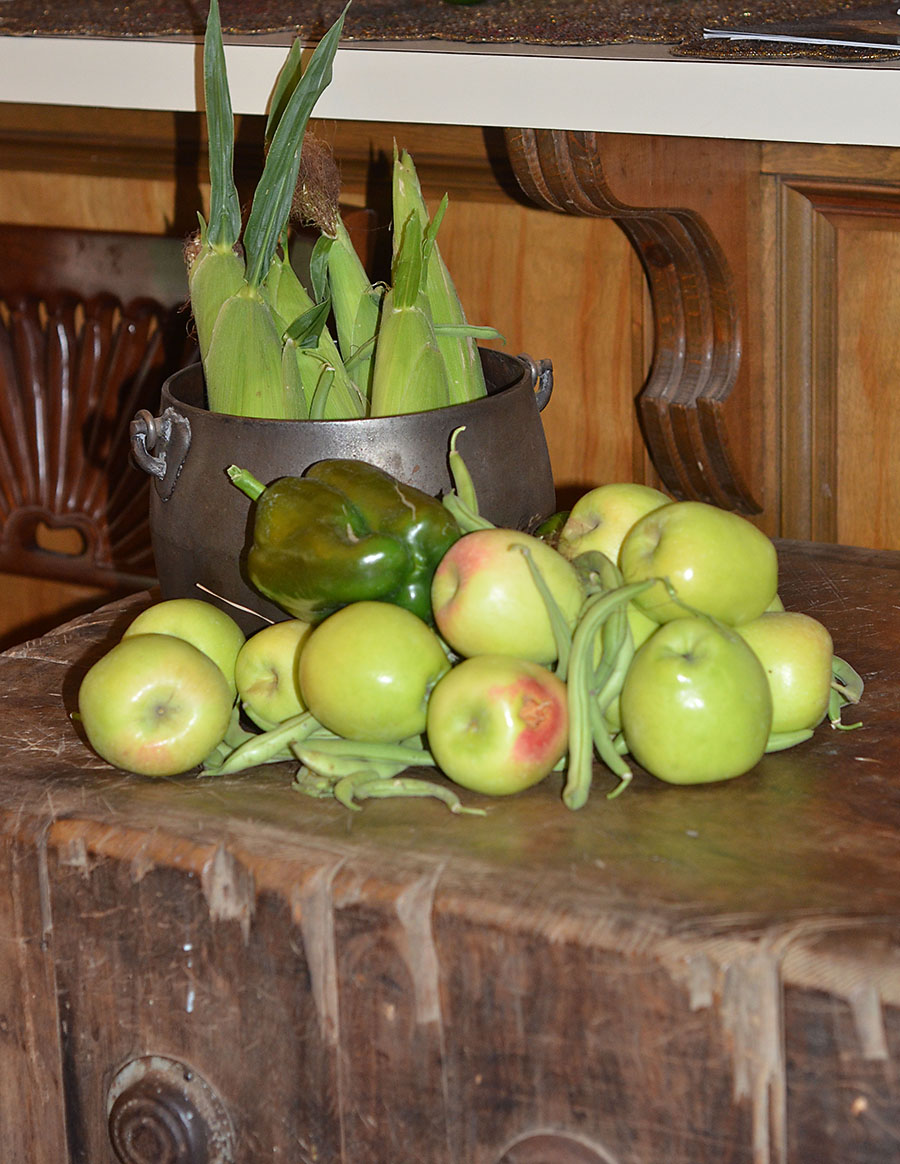
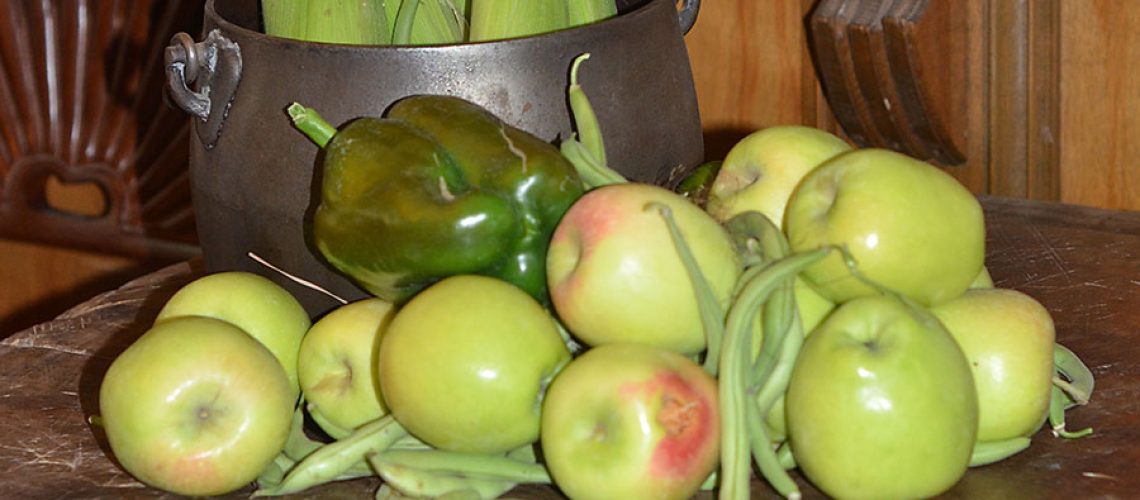
Their skins were delicate green with a few rosy hues and believe it not, no dark spots, no worm holes and no tell tale sign of rot on any of the apples they gave me. The tree was heavy laden and easy to pick from.

I should have taken a picture of the tree. Mr. and Mrs. also grew this corn, the peppers, and the beans.
Both of us chomping away on a freshly picked apple, I queried Mr. “How can these be so good.” They were crispy and firm. NO mush. I think he said something like, “I guess we just water them good. And take good care of them.”
Novel farming strategy.
For your information, Mr. and Mrs. are excellent stewards of most everything they set out to grow.
Me being an apple pie girl and wishing my Josh could share in this apple bounty, I decided to make an apple pie to freeze, something real nice to celebrate when he comes home from deployment in a short time from now.
Now an apple pie is easy and it’s hard. It’s easy because it doesn’t take much but apples, sugar, cinnamon, butter, a little bit of lemon juice, and a pie crust. It’s hard for two reasons, you don’t always get good pie apples and people generally don’t know how to make a crust.
Except for grannies. They seem to know how to do it.
So here’s my first piece of cooking advice.
If you have a granny, or a mother, or an uncle, or anybody in your family that knows how to make an apple pie, get everybody you love to the grocery store, buy some good apples, take them to that apple pie maker in your family and share an afternoon of watching him or her doing their stuff. You got little kids in tow, give them dough as your apple pie baker makes that pie. Write her recipe down. Get him to sign it with a message that a generation later someone can read.
Take some pictures. Have some fun. Eat that pie with some Blue Bell vanilla if your lucky enough to live in Texas, and put this moment of 2011 firmly in your brain.
The other option is that you, yes you, be the pie maker making the pie party memories.
Crusts are difficult. If this isn’t your cup of tea, don’t let that stop you. Just go get a ready-made pie crust. Some people think they’re better than homemade. (They probably are better than some people’s homemade.) I’ve used them. They can be quite good.
But if you are into a little challenge, then let’s do it!
Crusts are less difficult if you understand what makes them good.
The first challenge is to get little tiny balls of lard or shortening, completely surrounded by flour. This is the key to making flaky crust.
So how are we going to do that?
In cooking terms, you are going to “cut’ the flour into the shortening. When I was little I used to watch my mother do this with two knives. She would put the flour into the bowl, spoon Crisco into the middle and then with a butter knife in each hand she would cut across the contents of the bowl until the content of the bowl looked like little peas sized, flour coated balls of shortening. A pastry blender makes shorter work of this. I have seen people on cooking shows do this in a food processor. Any of these approaches work. Try which ever one you favor. I like the pastry blender because I have first hand control over when the dough gets to where I want it.
Here’s what will make or break this part: if the shortening you are using gets too ‘soft’, rather than staying in little balls, it begins to ‘mix’ with the flour into a gloppy mess.
You can prevent this by making sure everything is cold when you start. Everything – bowl, shortening and flour. Sticking everything in the freezer for about 10 minutes will do the trick and then, while you don’ t need to rush, you also don’t want to take time out to floss your teeth or run to the store. Be efficient with your time on this part.
Now the other thing that will make this part easier is if you use Crisco because even on the hottest day in your kitchen, Crisco ain’t gonna melt. That’s why its makes flaky crusts. That also why once it gets into your arteries, all the little hydrogens that are stuck in every single location they could be stuck in it’s lardy little molecules (hence the name hy-dro-gen-a-ted), makes your arteries well, hard and stiff. The very thing that keeps them in little crust balls in your pie, makes them bad molecules for use in your body. There is a way around this, you can use oil (which as you might imagine is really hard to keep in little balls while you are cutting it in) or you can use some of the dietary alternatives available in your local grocery store. Because I’m not sure what you are trading off for when you use a lot of chemicals that your body isn’t used to in some of those scary things, take a look at the labels and find something that might be less toxic.
Brother Neil taught me this. So did Mr. and Mrs. Smart Balance is a GOOD choice. Not only is it not hydrogenated it also uses some really good oils for your arteries, like olive oil.
So for my pie crust with these special apples I used Smart Balance sticks.
And I put those Smart Balance sticks in the freezer once I got them cubed, for about 10 minutes. (1 1/2 cups of Smart Balance sticks)

And here’s me cutting the smart balance into the 4 cups flour, 1 teaspoon of salt, and 1 tablespoon of sugar with a pastry blender…

This isn’t the best picture of the little fat balls, about the size of a pea, surrounded by flour… but you get the idea…

Now here’s the part where every recipe I have ever read about making pie crusts, lies.. They tell you to get a cup of ice water and add 2 – 3 tablespoons of it on the little flour bounded balls.
Here’s why.
You want to get the little balls to hold together, but you don’t want to mess up their ballness. So the idea is that you moisten the mixture with just enough cold water, to get the flour on the outside of each ball to hold with on to the ball next to it. That’s why you use a fork and not a spoon, once you put the water in. You want to toss it together and not mix it.
I have NEVER used only 2-3 tablespoons. I’m lucky to keep it down to 4 times that many tablespoons. I just use my judgement. You don’t want it to get to wet. Keep in mind what you are trying to accomplish.
Once you’ve done that, gently scoop half of the mixture into a loose ball and place it on a well-floured piece of wax paper.

You’re ready to roll now.
I use a heavy marble rolling pin and I flour everything every few minutes while I am working.

Once you get the crust rolled out to the size you want (I put my pie plate upside down on it and cut around about 2 inches around it), then the time has come to get it into the pan. I’ll let a picture say a thousand words.

See how messy this looks? I don’t let it bother me. Because despite how much water I put in I err on the dry side and because of that my crust is flakey. It’s easy to repair. I just ‘patch’ a little. I also like thin crusts.

You can almost see those little flattened balls if you look close… Now it’s time to do it again… you need a top crust. Once i get this done, I leave it on the wx paper to add once I get the filling in.

Now for the filling: 8 apples, peeled and sliced, 3/4 cup of brown sugar, 2 teaspoons of cinnamon, juice of one lemon or lime, and a pinch of salt. Toss all together.

Place the apples into the pie shell and dot with Smart Balance.

Now place the top crust.

Here’s where I make everything look better. You need to crimp the crusts together and kind of path where you need to.

Pierce the top of the crust with you knife to let out steam.

That one went into a plastic bag and is waiting for Captain Josh’s return. This one I made for tasting.

(Cooked in a 375 degree oven, for about 40 minutes. If the crust is getting to brown you can lay a piece of foil over it. Before I put it in the over, I spooned a little bit of milk over the top crust and sprinkled a bit of sugar. This makes it absolutely delicious!!!!)


5 Responses
Yummm! There is nothing better than a fresh, warm apple pie. Thanks for documenting the process.
I hope you get to share it with Josh soon.
Where’s mine?? 🙂
You make it look easy Jan. I wish I could make crust like Granny used to. It was soooo flaky! I know she used Crisco and seems like she did a lot like you did. I’m afraid I fall back on Pillsbury refrigerated crusts most of the time, but I may get adventurous and try to make my own!
Years ago I was a fantastic pie maker. Then my crust got TOUGH, and I am very unhappy. I will try your recipe and let you know. I used Lard because it did make the crust more flaky. I think I used way too much water and rolled it too much.